DIY Tandoori Oven

Tandoori Fired Meats

Need I say more? There is something absolutely wonderful about meats cooked on skewers in a tandoori oven. The high cooking temperatures (technically unachievable by most domestic ovens), coupled with the smoke of fats and liquids falling onto glowing charcoal makes for an amazing culinary experience.

Before I built my own, I used to frequent the restaurants that had their own tandoors. Most would be gas (propane) fired and not have that charcoal fired aroma.

Then I decided, how hard could it be? I noticed a whole bunch of videos on youtube and decided to harvest the best of the knowledge and insights and design and build my own.

My requirements

I noticed a lot of diy tandoors online were either too small, too inefficient or they were too large, heavy and fixed in place.

I decided I want:

  •  decent size where I can cook for 5-10 people
  • Efficiency with minimal heat loss
  • Safe materials (avoiding zinc plating and lead containing chinese terracotta pots)
  • Portability (low weight, low height, on wheels etc). I want to be able to transport to the homes of friends and family when required.

The Design (Tandoor meats technology)

I decided that the ultimate package for the tandoor is a 44 gallon drum and not zinc plated garbage cans.

I would use a terracotta liner but one fired from virgin clay and definitely not glazed.

The insulation would be lightweight, cost effective and efficient.

So here was the shortlist of materials:

  • A 44 gallon drum that was NOT used to hold toxic chemicals or oil based products)
  • A terracotta liner / large deep tapered pot fired / made locally to ensure its quality of materials and build
  • Vermiculite as the insulation
  • Fasteners
  • A set of casters to allow the drum to be rolled around
  • Various tools for metal working

The Drum

I scored a drum from a local warehouse for $10 which had been used to transport Propylene Glycol (food frade). It was the unlined type so it meant no plastic lining inside just bare metal. Score!

The first I did was wash it out and give it a good clean.

I measured it up to work out what sized liner/pot I would need and also how high I wanted this thing so as it could fit in the back of my stationwagon.

The Liner

After scouring Gumtree and then ringing a few places, I found a pot made by a local pot maker. It was perfect!

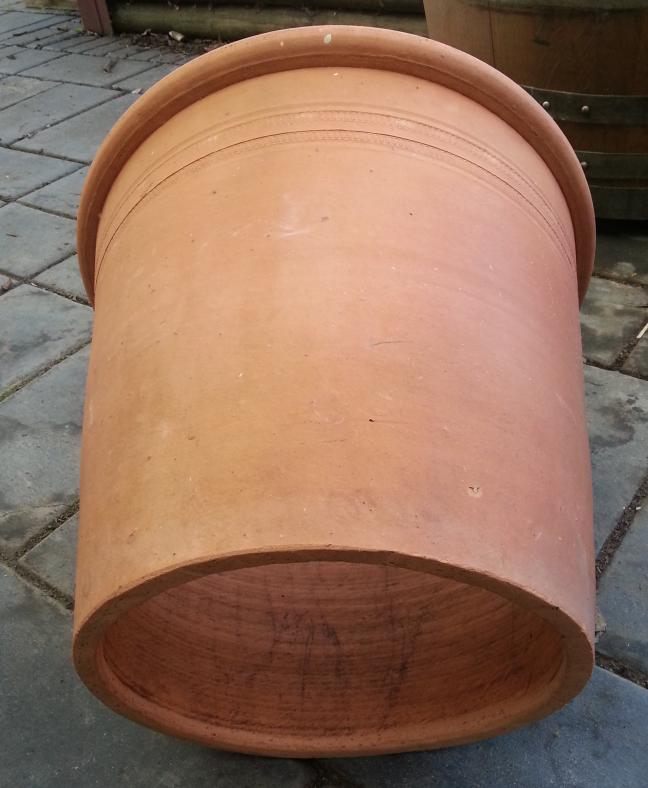
The pot was almost 1inch thick in the walls, 400mm at the widest point, 350mm wide at the narrowest and about 450mm tall.

I cut the base off using an angle grinder fitted with a masonary cutting blade.
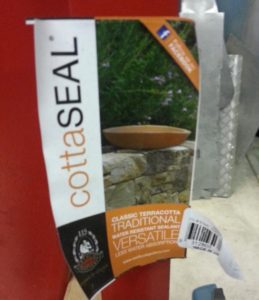
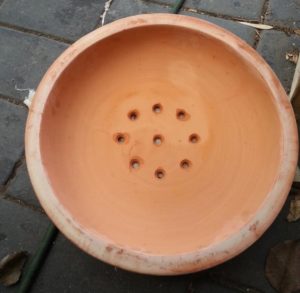
I then needed a place for the coal to sit. I found a bird fountain at Bunnings Hardware.
I drilled a series of holes at the base using a 12mm masonary drill bit. DO NOT use the hammer setting as it will crack your birdbath!
Modifying the Drum

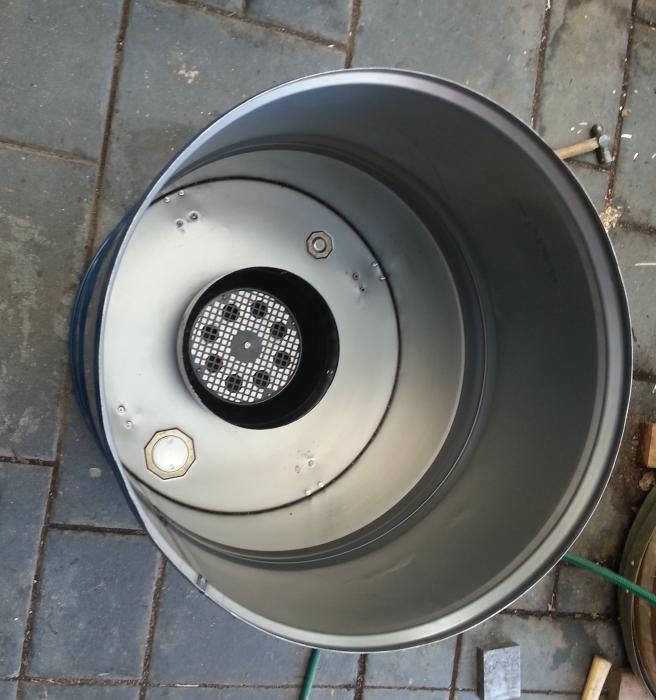
I flipped the drum upside down so as I can reuse the filler as a drain in case any liquid gets into the insulation area…

I cut the drum’s base off in a manner in which I would reattach it later. I then cut the drum down so as the total height with the trimmed lid was less than 600mm.

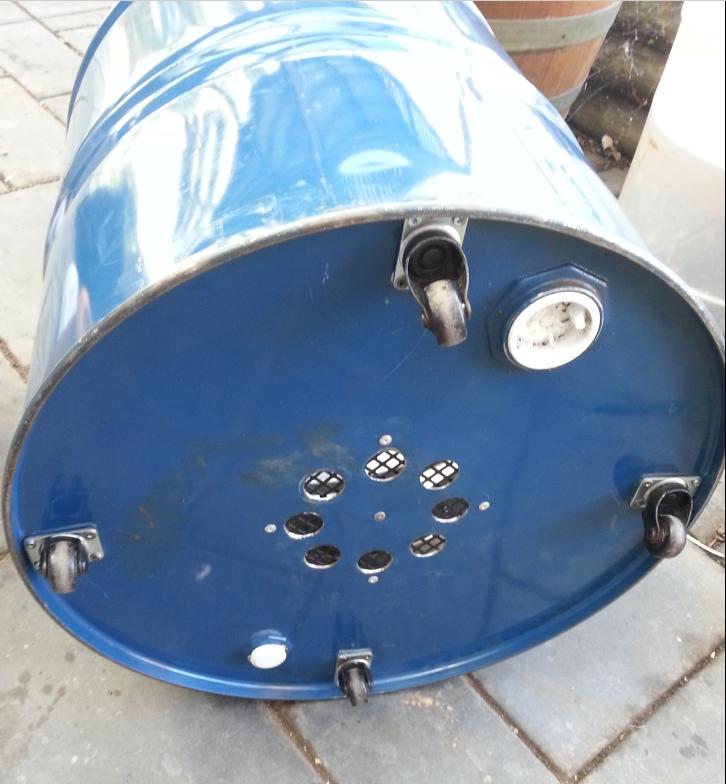
I then found a scrap motor fan housing and used that as the prop on the base to raise the birdbath (liner base) off the drum. This will allow the insulation to wrap around the base properly and allow the air to enter the tandoor for convection. Drill enough holes to allow ash to fall through and not block up.
Attach the wheels to the base. I scored the wheels of a recycled rear projection TV…seriously hardcore wheels for the height and size!
Fitting the liner

First I laid the birdbath inside.
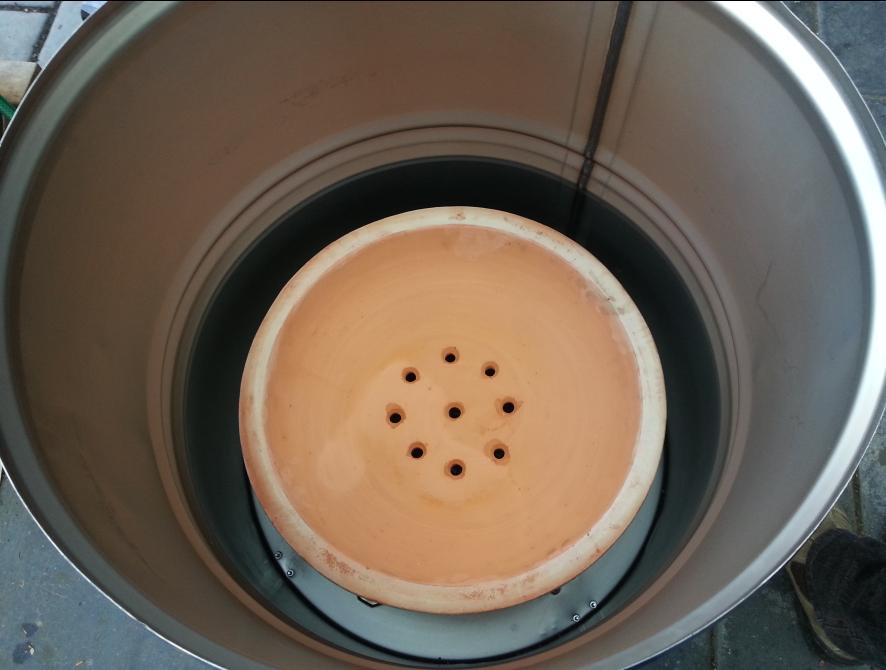
Then I placed the pot upside down over the top.

The alignment was just perfect!

Insulation

I found the vermiculite at a local horticultural shop and bought two bags of it.
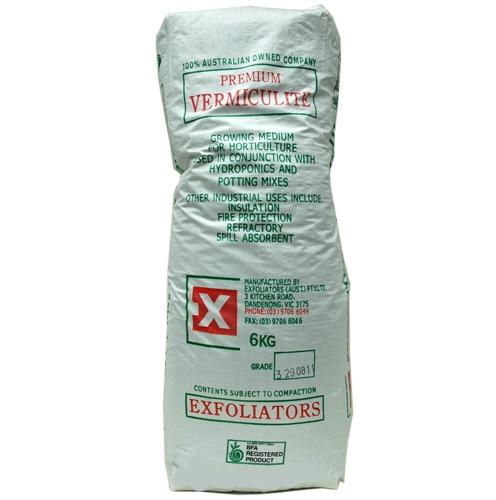
The stuff weighs nothing! I carefully poured it in and compacted it and kept adding until i could get no more in. I had some leftover but as I discovered 6 months later, the vermiculite had settled a bit so I topped it up.

I made a lid for the tandoor using a stainless steel drinks tray I found in a thrift shop and a wooden handle off an old file.

Breaking Bad

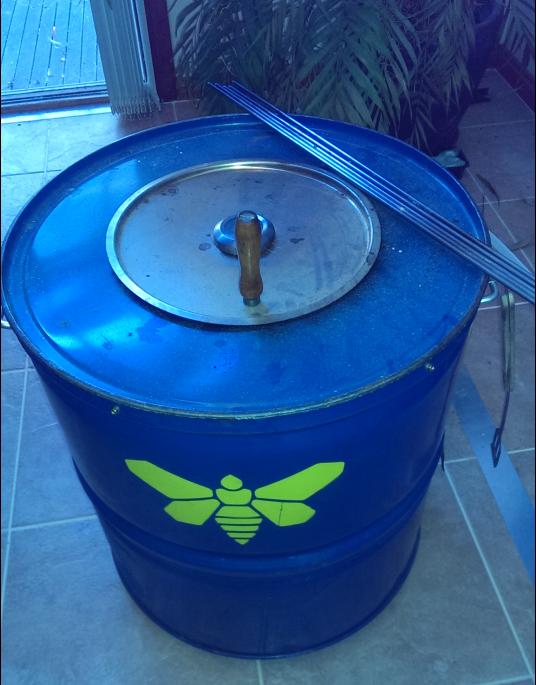
Being an avid Breaking Bad fan, I decided to put the ol’ Golden Moth Methylamine Barrel logo on it LOL.

Modifications and Result

I modified the cut off section (base) of the drum so as I could use it as a cover over the vermiculite. I also added a temperature gauge to the lid.
UPDATE

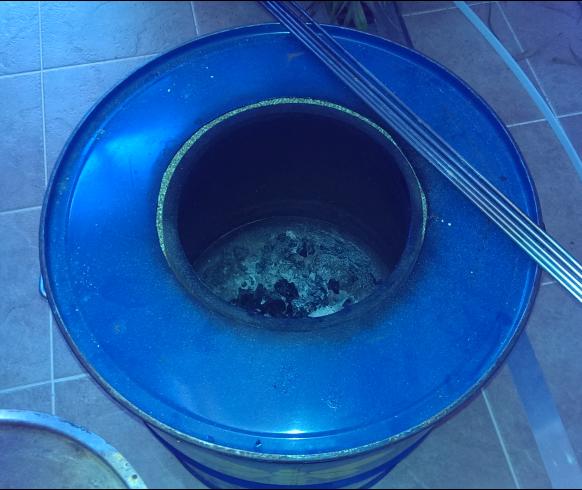
After 2 years of use. Everything is still ok.
Parts for the Project

Below are my affiliate links with Aliexpress for the parts used in the project. I’ve researched quality and price points for the parts. It would help me out at no extra cost to you if you purchase using the links below.

0 to 800F (450C) temperature gauge – http://ali.pub/2bdlxc

0 to 1000F (500C) temperature gauge – http://ali.pub/2bdnwi


Build your own Searzall head for under $10

Sears All

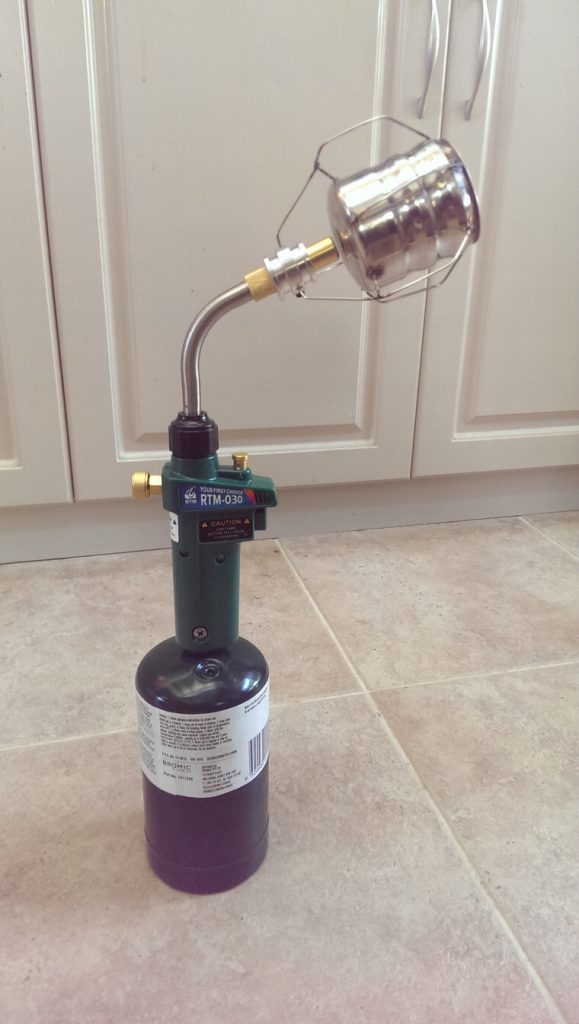
Well as it gets more difficult to source a Searzall torch head; the item has been unavailable for a while now even from Amazon….Amazingly the price isn’t exactly cheap….so I said fark it… Im building one.

Ok what do I need? Lets examine the unit itself…


It would appear that effectively its a radiant heat device. The “high temp mesh” is probably some stainless steel mesh that does not corrode and acts as the radiator.

Ok well this looks easy enough to build?

Analysis?

What would it take to build one?

  • A adapter that allows the head to float off the torch body to reduce the heat soak; this can be done using 316L stainless steel filler rod 1.6mm
  • A mesh  or series of meshes designed to sit at the edge of the flame envelope
  • A way of channeling the heat through the mesh

DIY Route

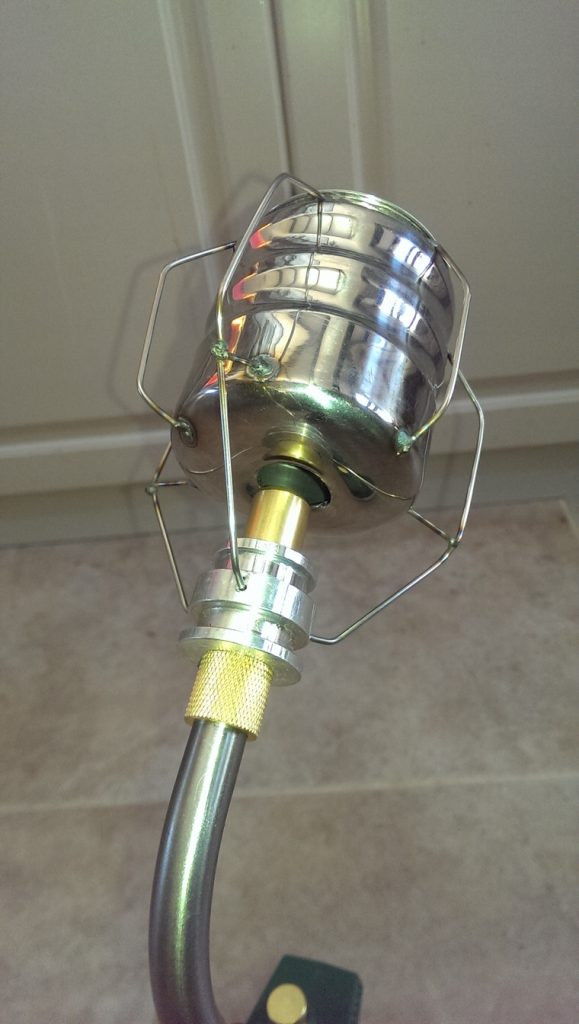
As I see it, you need a stainless steel chamber that is suspended from the torch head to prevent heat moving back into the torch. The front of the chamber needs to have mesh that is capable of handling the heat.

EDIT: If you want to create insulation, you could NEST two of the chambers; a smaller one inside the larger one separated by high temperature ceramic/glass wool.

Medium Chocolate Powder dispenser

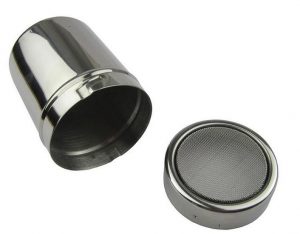
I found a medium sized chocolate duster that is used for coffee art. The size of the medium unit is almost on par with the Searzall unit.

  • 6cm diameter
  • 8cm tall
  • Medium size

Available from Aliexpress. Please use my link below as it helps me out at no extra cost to you. Make sure you get the MEDIUM SIZE.


All you have to do is drill a 20mm hole in the base large enough to allow the flame from the torch to not heat the dispenser itself.

Here are a list of affiliate links for this shaker. Your support benefits me without extra costs to you.

Source 1: http://ali.pub/2h2bjd 

Source 2: http://ali.pub/2h2bqr

Source 3: http://ali.pub/2h2bqy

Source 4: http://ali.pub/2h2brq

STAINLESS MESH

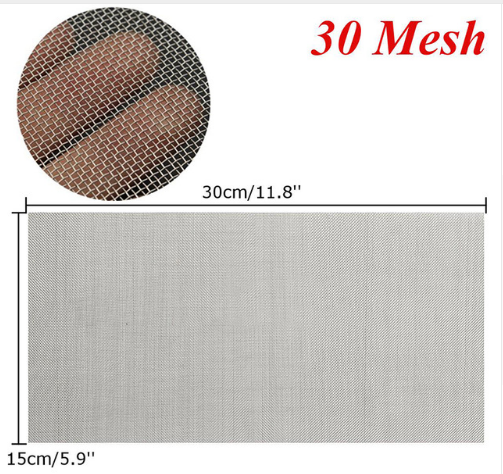
You can get this Mesh online. The size/grade you are after is “30”.

You can get it on Aliexpress. Please use my link below as it helps me out at no extra cost to you. Make sure you get the SIZE 30. This is the size that worked best for me.

Also make sure you get enough to make plenty of spare screens for your searing tip. As intially while you set this thing up you may burn them up.

Take a sharp kitchen scissors and cut circles to suit the powder dispenser. You want the fit to be fairly tight. For my tip I used 2 screens together as per Searzall. I also left the original screen in the dispenser but you can choose to remove it.

Source 1: http://ali.pub/20k7lz

Source 2: http://ali.pub/2h2bvf

Source 3: http://ali.pub/2h2by5


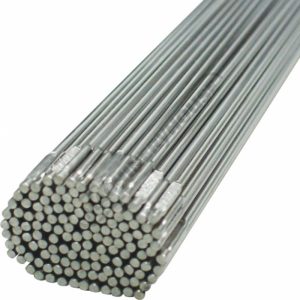
Stainless Steel TIG Welding wire 1.6mm

I have plenty of TIG filler rods around. Why not use it as the frame for our torch head?


Basically bend into shape and tack weld to the dispenser. Bend the wires up toward the hole of the dispenser. Leave some excess so you can fine tune it to fit your torch adapter (next item).

DIY TORCH ADAPTER: length of ALUMINIUM MACHIning round

A short length of aluminium 25mm diameter by 25mm long in which a bore to suit your torch tip can be made with a lathe or a drill if you are careful. For my torch it was 15mm so I bored a hole using a 5/8″ (15.8mm) drill bit.

You will need to tap a thread for a grub screw to attach the head to your torch.

Additionally 3 holes need to be drilled in the side of this aluminium to the diameter of the wire / filler rod being  used…

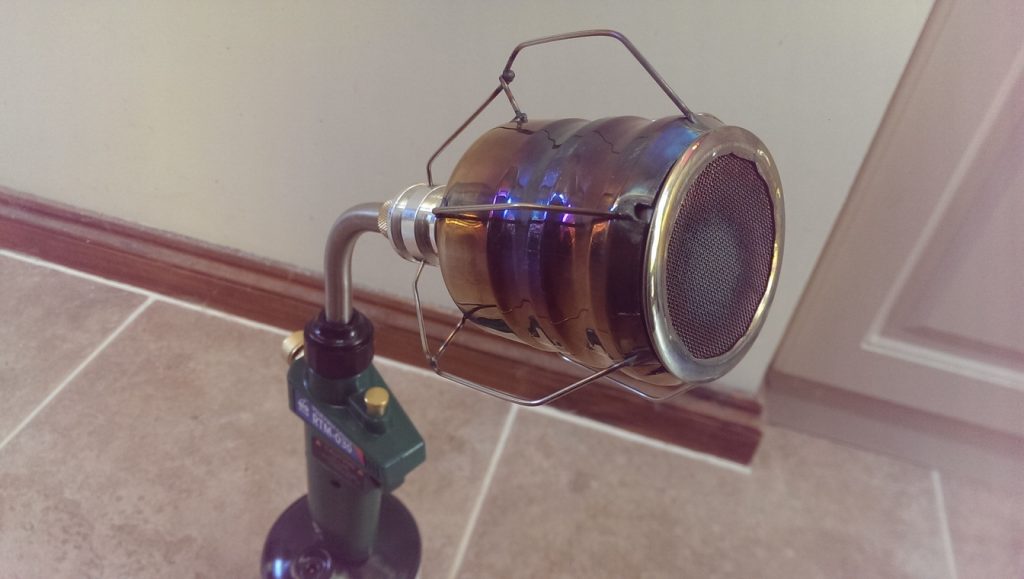
the result

Well I must say for a few hours work it was worth it. It works like a dream….

Say goodbye to the ol “Torch Taste” and enter a level of culinary excellence worthy of a Michelin Star kitchen…

Growing soiless wheatgrass with super nutrient solution

If you’re growing your own wheatgrass, you have probably realised by now that it will grow without soil as a medium.

 
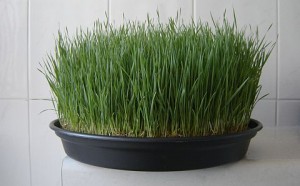
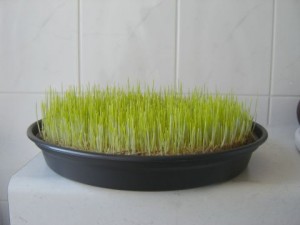
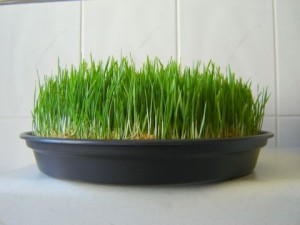
My 9 day old super-healthy wheatgrass growing happily 
in a tray If only my lawn looked this good 😉 

Here’s how I do things. All the bits are available a well stocked hardware store like Bunnings.

Parts Required

– Good quality planter pot drip tray (340mm preferred)

– Quantity of Natural jute matting (hessian) as used for erosion control

– Sharp Scissors

– 1L glass jar with lid

– Square piece of aluminium cyclone wire (fly netting)

– A thick postal rubber-band

– Quantity of wheat (winter wheat berries from the health store) aka Cleaned Wheat.

The Sprouting Jar

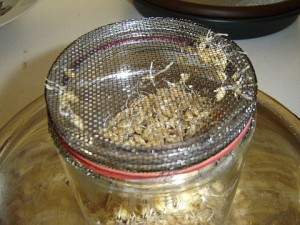
The first thing you have to make is a device for sprouting the wheat berries before the “planting”. The method I use is well documented on the net and all I have done is used local materials to achieve a low cost solution. The sprouting jar is basically a normal glass jar with a lid made out of cyclone wire; which is a powder-coated aluminium mesh that is used in screen doors to keep the bugs out. All you do is cut a piece slightly over sized and then use the screw lid of the jar to force it down onto the threads. This will form the threads into the mesh making it easier to keep it on there. Once the lid has done its job it can be put away.

The mesh copy of the lid is now held on using the rubber band.

What a mesh! Held securely with a band.
 The mesh was forged into the threads with the lid as the die.

Nutrient solution

You can make your own wheatgrass nutrient solution at home. You will need the following:

– 500mL small spray bottle (get a good quality one as it will last the test of time)

– A 1 or 1.5L PET bottle for mixing and storing.

– A bottle of fresh clean sea-water (filtered using coffee filter paper)

Ormus

– Sheets of Nori (Japanese sushi seaweed sheet) or Kelp pieces

– Unprocessed sea-salt, the dark grey or pink stuff (Celtic Sea Salt / Himalayan Sole)

Basically, the ratio is as follows:

For every  1 Litre of nutrient solution, you have:

80mL of filtered fresh seawater (roughly 1/3 cup)

10mL of ormus (2 tsp)

1 tsp of unprocessed sea-salt

1 sheet of Nori (rolled so it can be slipped through the neck of the bottle).

890mL of filtered water (RO, filtered, or relatively fresh rainwater)

Mix up the solution thoroughly to dissolve the salt and ormus and the Nori will start to break down giving the solution a brown tinge. Filter some out and put it into the spray bottle for use during the misting stage of growth. The rest can be fed directly into the tray onto the bottom UNDER the wheatgrass root mass. Keeping the top dry ensures there will be no mold.

One bottle should last one growth cycle of a tray.

Once you have made the nutrient solution, you can start the process as detailed below.

Step 1: Soak the Wheat

The wheat needs to re-hydrate itself. The quality of water you use now is important. I use filtered water with 2 tsp of ormus. This ensures that ormus will be drawn up into the seeds. Fill the jar close to the top and let it sit in a dark cupboard for about 12-18 hours. 24 hours is OK. I have noticed that at the end of the soaking process, a large number of tiny bubbles rising through the water layer…perhaps some of the excess ormus escaping?

Step 2: Sprout the Wheat

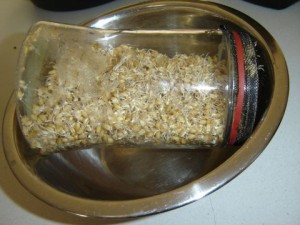
After the 18 hour soak process, merely turn the jar upside down over a sink to drain out the excess water. DO NOT wash it at this point as we want to maximise the wheat’s exposure to the ormus. Once its drained, place it at 45 degrees like in a dish-rack or something. I have found a nice way to store it in the dark. I place the jar inside a container or colander with a rounded base. This causes the jar to sit at about 45 degrees while collecting the excess water.

After 2 days of sprouting. Keeping the wheat moist not wet.

Give the seeds a wash and drink every 8 hours for 3 days, or until the root part looks like its about 1cm or longer. The picture above shows when its just about right to start “planting”. I have found that if you let the wheat sprout well into this stage of growth, the overall success and health seems better. It also gives ALL the wheat a chance to sprout. Do not let the wheat dry out at this stage or you’re going to lose the crop.

Step 3: Preparing the bed

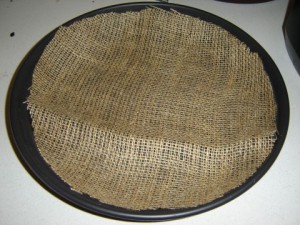
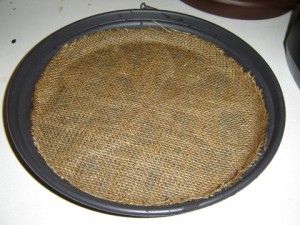
You are almost ready to “plant” this wheatgrass. All you do to prepare the medium for this planting is to cut two sheets of jute matting to suit the inner area (circle) of the planter tray.  Cut it oversize slightly as just like pair of cheap pants, it will shrink when wet.

Jute mat trimmed to oversize slightly

Next, you wash the matting thoroughly a few times and then leave it wet (but not dripping wet).

Jute can hold up to 450% of its own weight in water!! 
Thats a great alternative medium to soil/peatmoss! 

Step 4: You make your bed, you sprout in it!

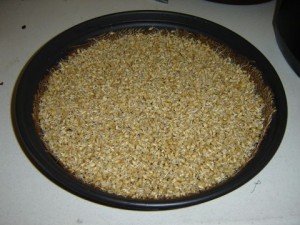
Its time to spread out the sprouted wheat evenly across the bed. Be VERY careful and gentle during this process. You dont want to damage the delicate wheat roots. You should end up with something that looks like this.

Mist the wheat lightly every 3-4 hours using the spray bottle. Keep this tray in the dark cupboard for a few days until you get shoots, 2 inches tall and are looking a light green/yellow.

Tray at 3 days. Its going to suck the 
nutrient water like nobody's business...

Then you can expose them to light by sitting the tray next to sunny window.

Tray at 5 days. I really believe you should 
grow it in ambient sunlight (on a window sill)

Grow for as long as you feel is necessary, feeding the grass each day with the bottled nutrient solution.

You are well on the road to producing your own ocean minerals soilless mold-free ormus wheatgrass.