Look Ma no fans!
In Mk1, I used a 48V UPS. In Mk2 I use two 24V APC UPS transformers in series. Basically I take the two identical transformers and double the voltage output for the same current. This gives my power supply a 3000VA capacity!
The donor housing for this project was a dead Growatt 1500W Grid Tie Inverter. I did this to allow for a fanless IP54 rated wall mount unit.
Yes you read right. Aside from the 50Hz hum, there is no annoying fan sound.
Design
The concept here is basically we run this unit off a generator which kicks in when the battery bank (for my off grid setup) drops below 46V. This supply/charger tied to the battery bank and can be used to feed the inverters and also top up the battery bank as required. The CC and CV functionality works in a safe manner to ensure we don’t damage the battery bank.
Mk2 design doesnt change much from mk1 which can be seen in my previous blog link http://think.gusius.com/diy-48v-dc-30amp-bulk-battery-charger-mk1/
For completeness the block diagram is shown below:

This time the transformer is in two parts.
Also we are using a better volt/ammeter which has a wide input range and does not require an external buck converter.
The Transformers
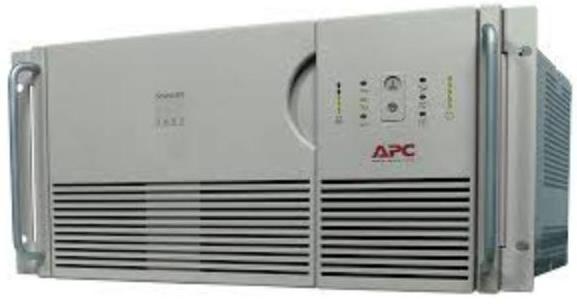
I stripped down the APC 3000VA UPS transformers which were Class H rated! There were two of them with series secondaries to work with 48V.
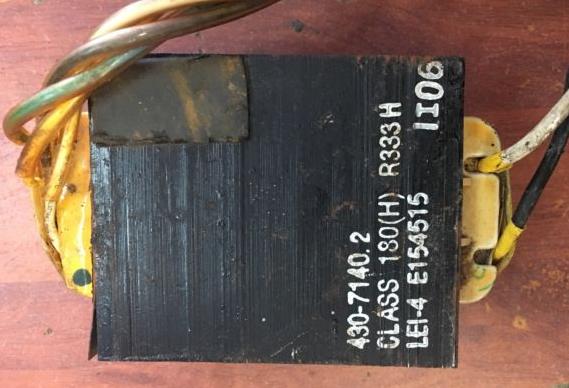
Wiring the primaries in parallel and the secondaries in series gave me around 30Vac open circuit.
The Enclosure

I was given a Growatt 1500W Sungold grid tie inverter that had apparently stopped working.
The good thing about stripping old broken grid tie inverters is you get some nice high voltage inductors, filters, relays, connectors etc.
Building it
The unit was stripped bare ready for use. Basically everything removed. The power filter side was bandsawed out to use as an input filter for this power supply.
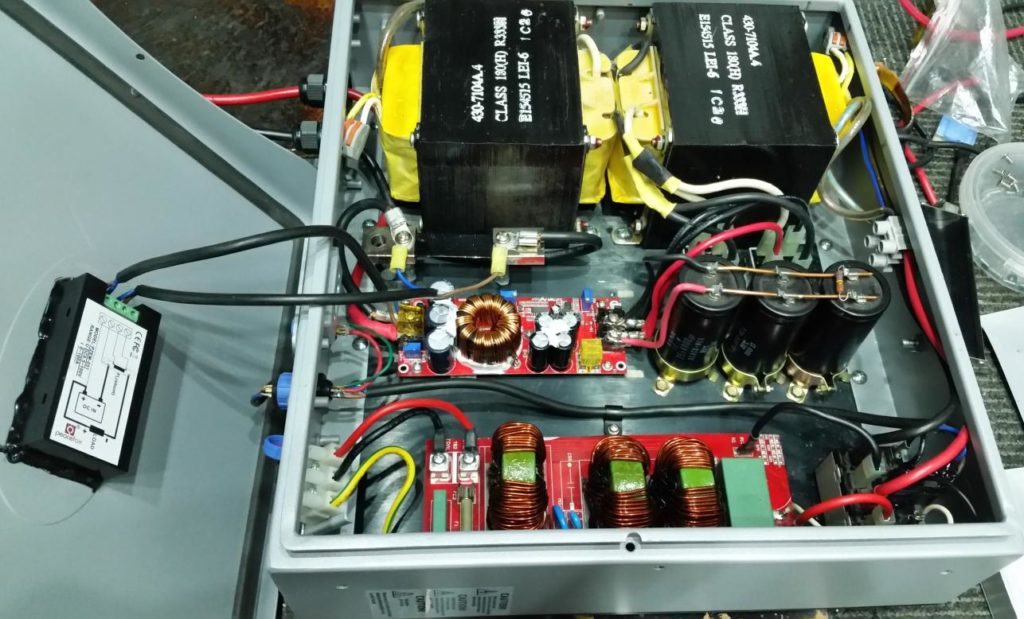
The DC DC converter was stripped of its original heatsink and fan and then fitted directly to the enclosure’s massive heatsink.
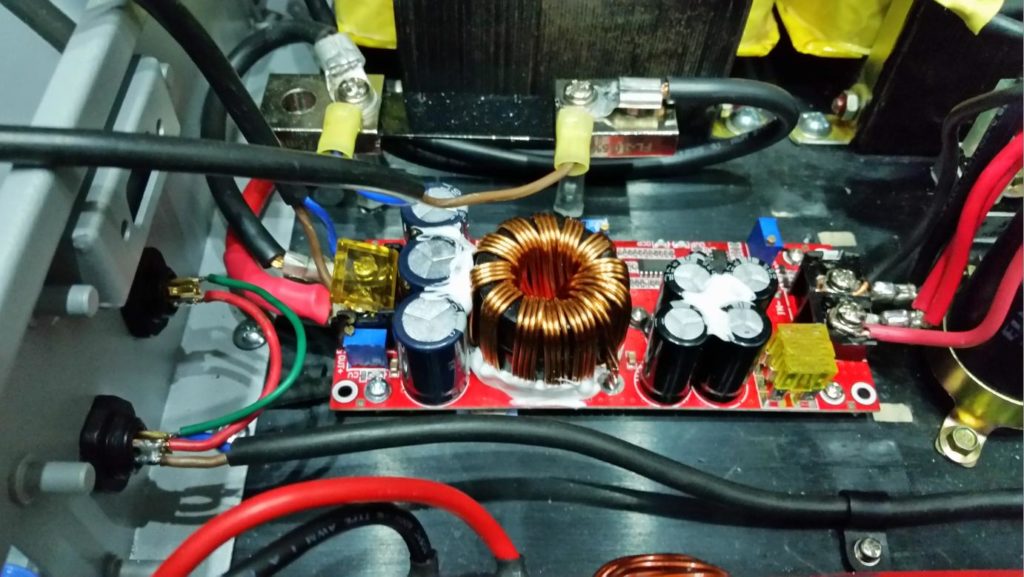
Everything fit nicely.

Wiring It
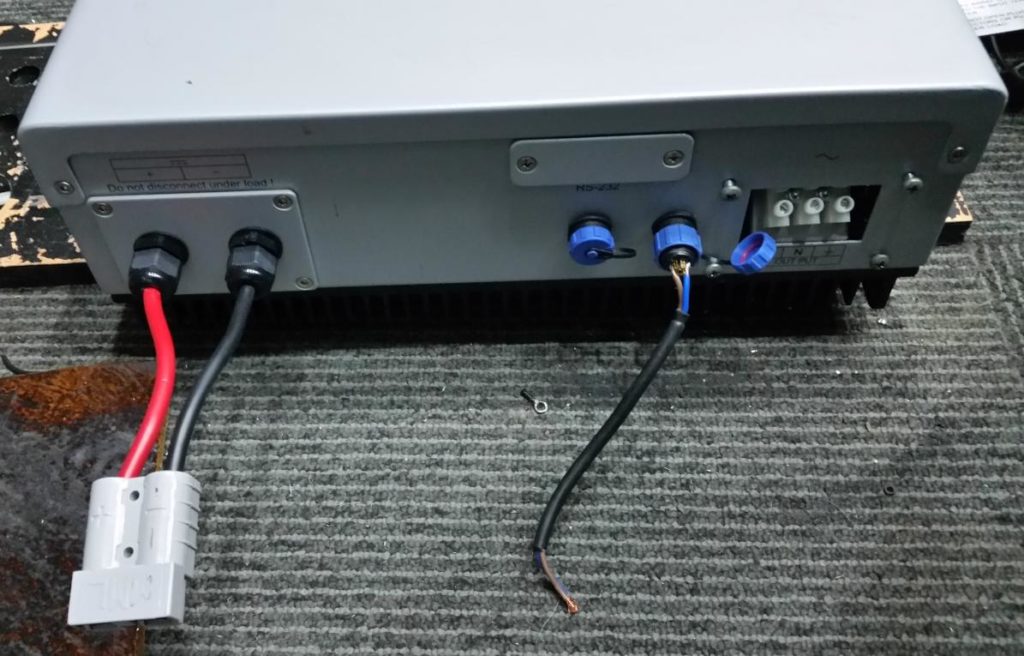
Wiring is relatively simple. Just making sure you meet all the wire ratings and size for the current and voltage requirements in each stage.
The Anderson SB50 on the left goes to your battery bank. The two blue connectors are used to remote turn the unit on and off using 12Vdc. The 3 terminal block on the right is the AC input from the generator or mains.
I used my Midnite Charge controller AUX 1 output to drive the unit ON/OFF based on Low Voltage Detect of 46V.
Summary
Having a noiseless, IP67 (or even IP54) rated battery charger as a backup unit for my offgrid setup is quite the holy grail.
Update: What do those trimpots do?
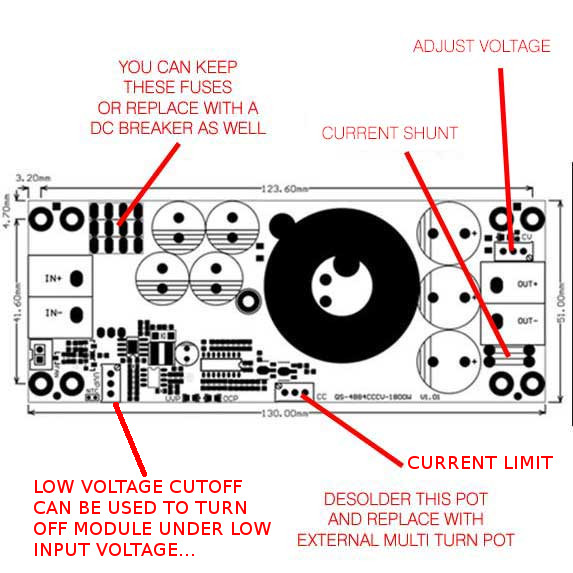
There are three trimpots on the converter. The diagram below shows what they do…
Parts For the Project
An old grid tie inverter to suit [QTY 1 required]
6.5-100Vdc LCD Combo Meter + 100A shunt [QTY 1 required]
2pcs 50A 1000V Diode Bridge Rectifier Modules [QTY 2 required, four in total]
1800W 40A DC DC converter module CC CV [QTY 2 required]
3pcs 10000uF 80V DC smoothing capacitors [QTY 1, 3 pieces required]


where’s the second Dc-Dc converter in your photos and how is it wired?
The second converter was used in the original unit (mk1) to power the volt/amp meter.
As shown in my diagram here http://think.gusius.com/wp-content/uploads/2018/08/48vbulkchargermk2-768×410.jpg
This mk2 version I built uses a mains powered meter so there is no need for additional power conversion.
Thanks. I managed to get a couple of these DC-DC converters from China but no user guide or ANY documentation. Can you help me with understanding what the three trimpots do? I’m guessing the one on the output side is voltage output set. But the others?
Tx and rgds
Hi mate good stuff. Ok the 3 trimpots work as follows:
Trimpot 1: Controls Output voltage
Trimpot 2: Is a comparator feedback level. Basically you can set a current threshold to turn the blue LED on the board on and off (for say a bulk charge complete indicator).
I set this by placing a load on the output that gives me the current at which I wish to extinguish the BLUE led…then turn the pot until it just extinguishes.
Trimpot 3: Controls the output current limit
Regards
Gus
EDIT: The trimpot closest to the input also happens to set a LV cutoff on my unit….
Appreciate your input Gus. The supplier tells me his AliExpress page is all the info I need!
Glad to help!