Brewie B20 is a fully automatic all-grain wort producing machine. It can do up to 22L batches although its great for 19L. The four hop additions are automatic however you can keep going if you manually change the hops.
My Brewie Arrives
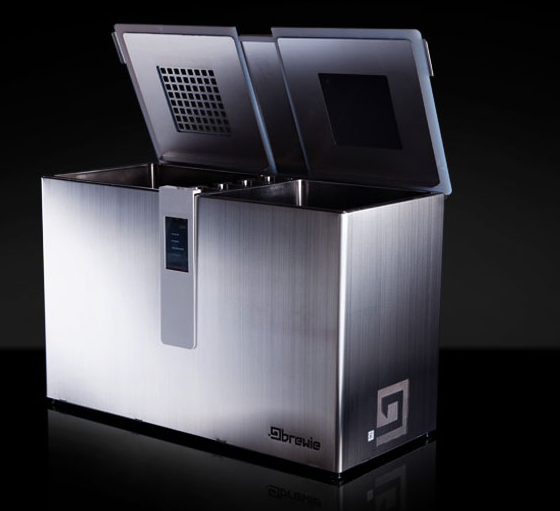
I recently became the owner of a Brewie Automatic Brewing Machine. The unit arrived in a well packed box with all the necessary items for creating the wort for all grain beer recipes.
One Fitting to Rule them All
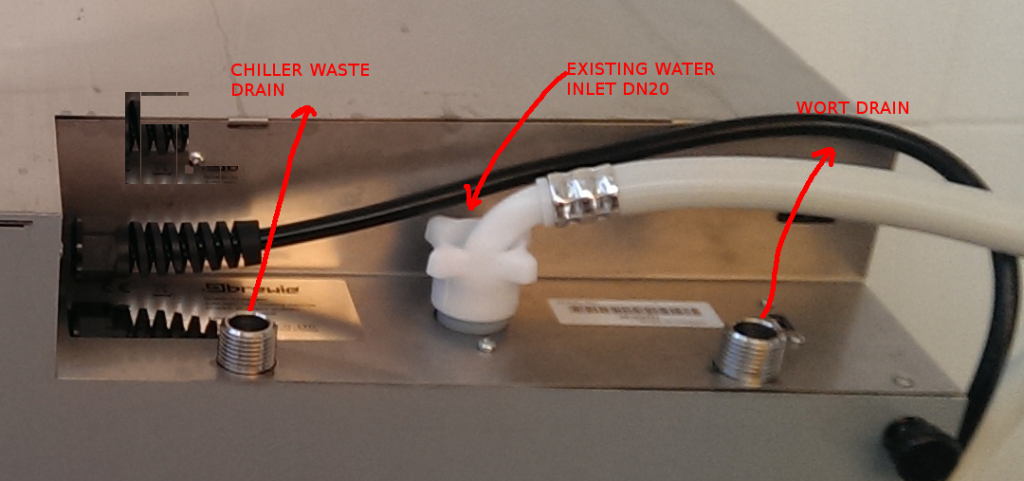
One thing I immediately noticed and didn’t like was the fact that you could not choose the sources of water for wort chilling vs the wort itself. I wasn’t about to make my beer out of tap water and I also don’t want to waste filtered RO water for the chilling process. So I hacked it.
Bits you will need
You will need the following items to allow your Brewie to have two separate water inlets. The existing inlet is converted to only supply water to the chiller. A new inlet is created to supply filtered water to the brewing process circuit.
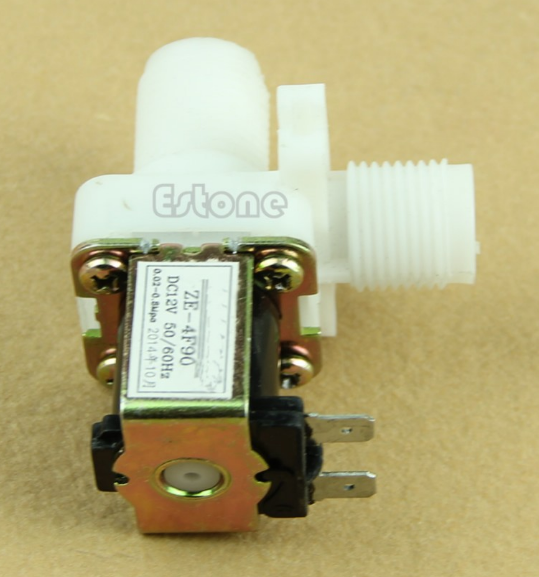
12vdc DN15 solenoid
The Brewie’s existing water distribution is achived via a single inlet DN20, dual solenoid valve that feeds the chiller circuit and the tank fill circuit.
The solenoid below has a DN15 (1/2″ BSP) thread inlet and a DN15 (1/2″ BSP) thread outlet. It has a 12Vdc coil with two spade terminals. These specifications are important for our modifications.
You can buy this solenoid on Aliexpress using my link as it helps me out without any extra cost to you.
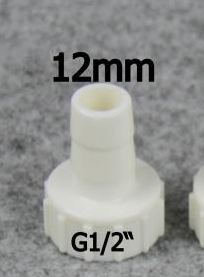
DN15 to 12mm barb adapter
This adapter goes onto the OUTLET of the solenoid. Note DN15 is 1/2″ BSP. Since we will be using the Brewie’s existing hose we need the barb to be 12mm.
You can buy this adapter on Aliexpress using my link as it helps me out without any extra cost to you.
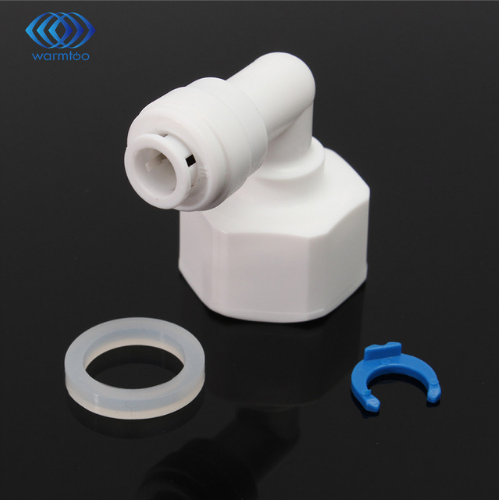
DN15 to 1/4″ QUICK FIT adapter
This adapter goes onto the INLET of the solenoid. Note DN15 is 1/2″ BSP. If you want to use a straight version of this adapter that is fine too.
You can buy this adapter on Aliexpress using my link as it helps me out without any extra cost to you.
TOOLS REQUIRED
- Step drill bit 20mm hole required
- Drill machine
- Screwdrivers (Phillips)
- Pliers (to remove hoseclamps)
- Scissors (to cut hose)
Other Bits
You may think you need hose clamps but you don’t. Because we are removing a pipe from the Brewie there will the right amount of hose clamps to do the job.
Making the Modification
WARNING

Make sure the machine is FULLY DRAINED of liquids
and the power has been DISCONNECTED before proceeding.
You will need to lay the machine on its front side / back side and then proceed to remove the bottom cover. Basically unscrew the four black feet and remove all of the phillips head screws EXCEPT the screws holding the fans in place.
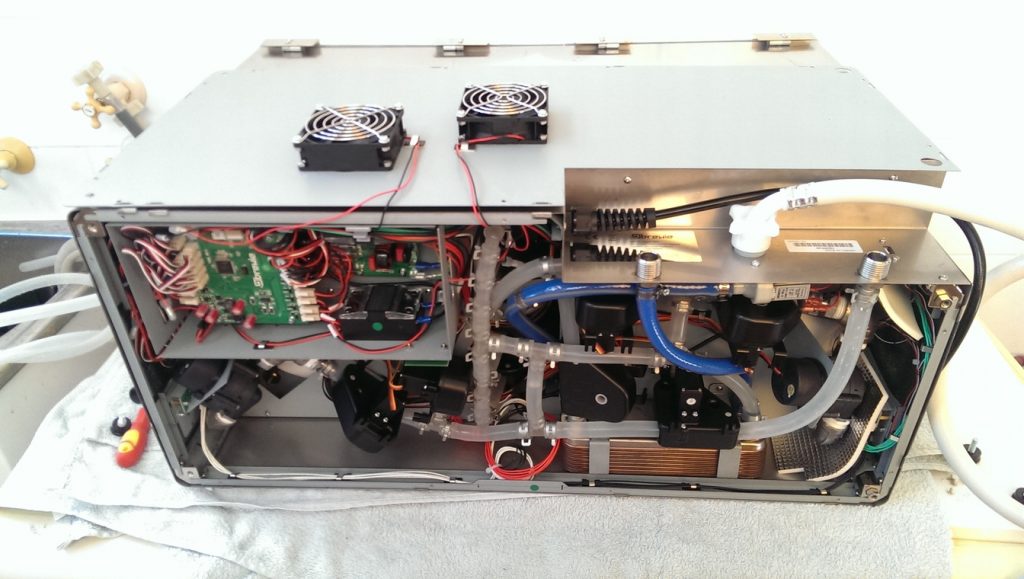
You can choose to disconnect the fans from the Brewie Control Board or just leave them connected.
The next stage is to remove the hoses connected to the water inlet solenoids.
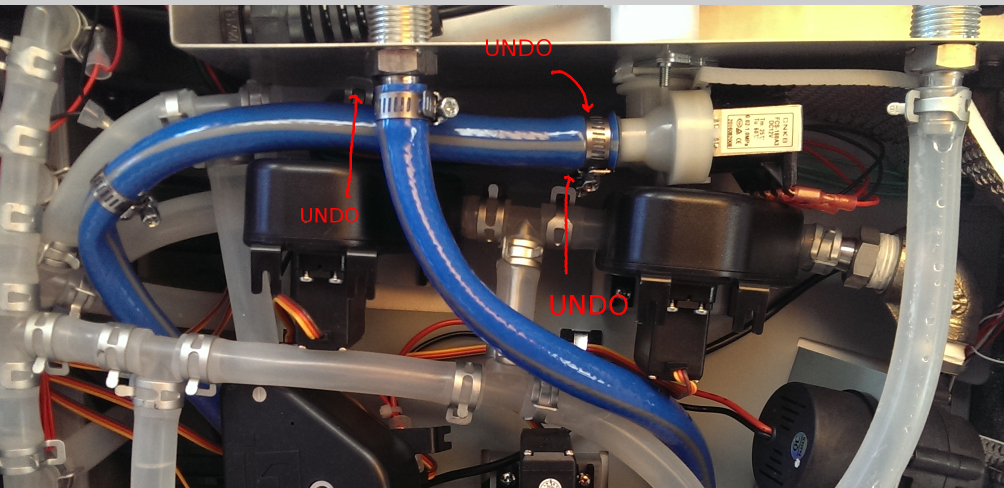
You should then remove the existing solenoid assembly and take note of the markings. My unit’s chiller solenoid wires were marked as “C”.
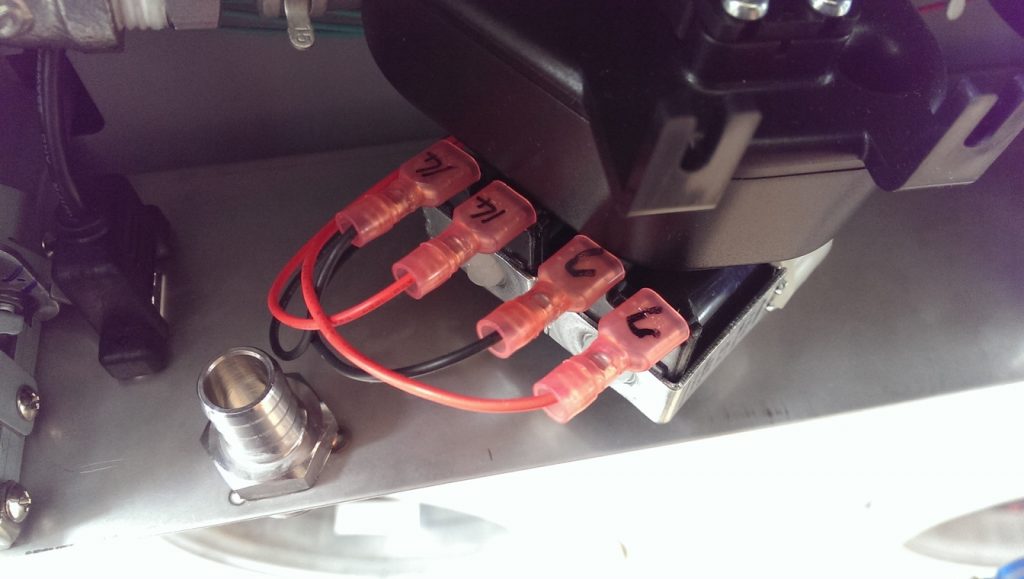
“14” Wires are the for the water inlet solenoid.
Re-route the “14” wires to the centre of the unit where the hop tanks are. You will need to undo some cable clips to do this.
Move the “C” wires from the existing solenoid to the other solenoid. We are doing this to move the chiller input solenoid to the back now.
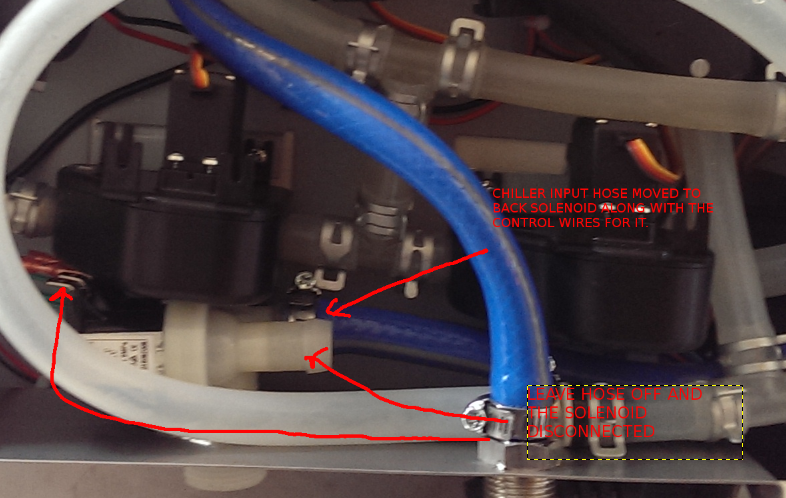
Remove the backing plate shown below:

Drill a 20mm hole near the power cord inlet. This is where the new DC solenoid will meet the outside world as shown below.
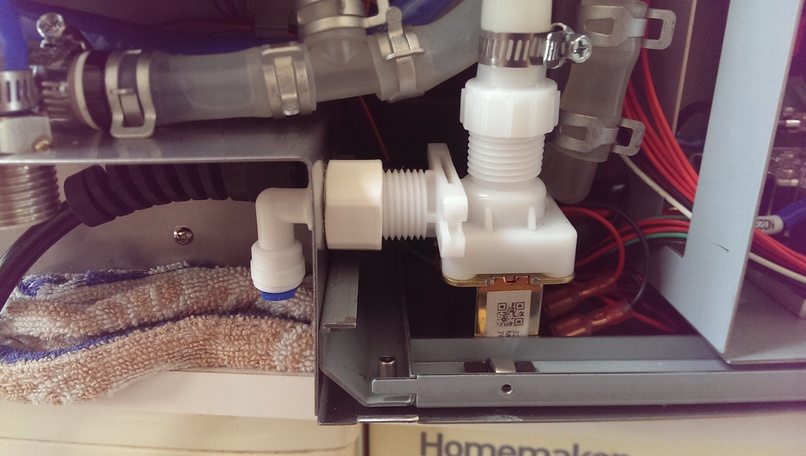
Reassemble the backing plate and fit the solenoid into place. Plug in the rerouted solenoid control wires into this solenoid.

Route the hose in the following manner and secure using the left over hose clamps.
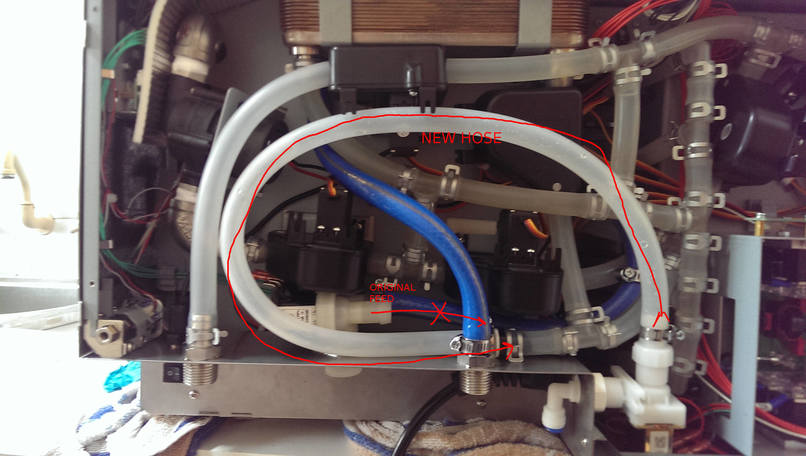
NOTE: There is a check valve on the Tee piece where the hose connects…make sure it is in the right direction if you need to remove it.
That’s it you’re done. Put everything back together and give the machine a test run. You will now be able to have a separate water inlet for your filtered water that is only used for making wort. Straight tap water is used to chill the wort…

